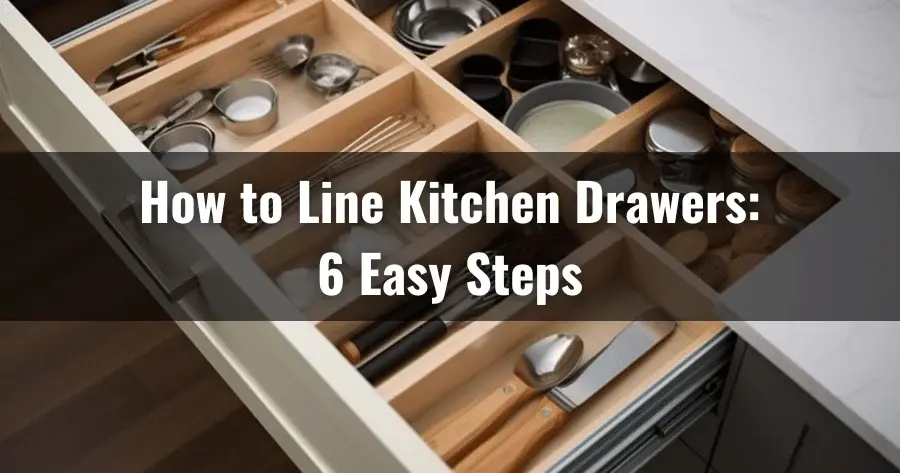
Lining kitchen drawers keeps them clean and protects utensils and crockery from scrapes and scratches. This also gives the space a tidy appearance. It greatly benefits any well-organized kitchen. But you have to line drawers the right way to achieve that desired look.
The process of lining kitchen drawers involves carefully cutting the suitable drawer liner material to create a perfect, seamless fit for each drawer. After that, place the liners in the kitchen drawers.
This ensures that the liners snugly embrace the interior, safeguarding your drawers from unsightly scratches and stubborn stains.
Also, the practicality of lining your kitchen drawers goes beyond mere protection. Cleaning becomes a breeze as you can effortlessly remove and replace the liners whenever necessary, maintaining a spotless and inviting kitchen environment.
We will accompany you through a step-by-step journey of lining your kitchen drawers in detail, helping you extend their lifespan and maintain your cooking essentials.
Jump to Section
How to Line Kitchen Drawers: Steps to Follow
Line your kitchen drawers requires just a few simple steps. These are:
- Step 1: Gather all the necessary supplies and materials
- Step 2: Empty the kitchen drawers
- Step 3: Clean the drawers
- Step 4: Measure the drawer
- Step 5: Cut the liner
- Step 6: Place the liner in the drawer
To ensure the successful lining of your kitchen drawers, let’s go over the steps in detail.
Step 1: Gather All the Necessary Supplies and Materials
Before lining your kitchen drawers, you’ll need to gather the necessary supplies and materials. You’ll need drawer liner material, measuring tape, scissors or box cutter, pencil or marker, and cleaning supplies to prep the drawers before lining. Then you can start lining your kitchen drawers.
Step 2: Empty the Kitchen Drawers
To line your kitchen drawers effectively, remove all items from the drawers. This will make it easier to clean and line the drawers properly. Ensure you have a nearby surface to place the items you take out of the drawers for easy access later.
Removing your items from the drawers also allows you to see the condition of the drawer and determine if it needs any repairs or replacement before lining.
Step 3: Clean the Drawers
After you’ve removed all the items from the drawers, it’s time to clean them thoroughly. Take a damp cloth or sponge and clean the inside of the drawer from top to bottom, left to right. This will help you remove any dust, crumbs, or sticky residue from the drawer.
Be sure to wash the edges and corners of the drawer well. Before moving on to the next step, we recommend that you let the drawers dry completely.
Step 4: Measure the Drawer
To get an accurate fit for your kitchen drawer liner, use a measuring tape to determine the depth of the drawer from the back to the front.
Take note of the measurement and double-check to ensure its accuracy. This will help you to determine the exact size of the liner you need to fit your drawer correctly.
Step 5: Cut the Liner
Now it’s time to cut the drawer liner to the correct size. To start, lay the liner flat on a smooth surface and mark the measurements you obtained earlier using a pen or pencil.
To ensure a perfect fit, be sure to double-check the markings before proceeding to cut the liner. Carefully cut the liner along the marked lines using scissors or a box cutter.
Our suggestion is to use a scale stick to ensure an accurate cut. Place the scale stick on the marked line, then use a box cutter over it.
Step 6: Place the Liner in the Drawer
Once the liner is cut to the correct size, place it inside your kitchen drawer. Gently place the liner inside the drawer, ensuring it covers the entire bottom surface of the drawer. Smooth out any wrinkles or bubbles for a neat appearance.
To smooth out the liner in the drawer, start from the center of the liner and use your hands to press down firmly and evenly towards the edges. This will help you push out any trapped air bubbles as you work your way outward.
If you encounter stubborn bubbles or creases, you can use a clean cloth or squeegee to smooth them out. Work from the center to the edges gently sweepingly, ensuring the liner adheres smoothly to the drawer’s surface.
How Do You Pick the Ideal Liners for Your Kitchen Drawers?
When choosing liners for your kitchen drawers, we found a few key points that you need to consider. The following are among them:
1. Stickiness
When choosing the ideal liner for your kitchen drawers, consider stickiness. If you prefer an adhesive liner, you can expect excellent durability and firm adherence to the drawer’s surface. But, installation and removal can be challenging, and adhesive liners may leave a sticky residue when removed.
On the other hand, non-adhesive liners are versatile and easy to reposition, making them an ideal alternative. They are perfect if you want to change liners or rent your home and need a removable solution. We found that most people use non-adhesive liners for convenience.
2. Material
The material of your liner is also an essential consideration. Vinyl and plastic liners are popular, offering excellent durability and waterproof capabilities.
They come in both adhesive and non-adhesive forms, while plastic liners provide superior protection against leaks and spills.
Fabric liners are another option, coming in a range of colors and patterns to add a touch of personality to your kitchen drawers. They are non-adhesive, easy to trim to size, and some may even have a waterproof barrier underneath.
Foam liners are also an option, providing cushioning and a non-skid texture. These are suitable for protecting delicate items like platters and glasses, but small holes in foam liners may accumulate crumbs and water requiring regular cleaning.
3. Size
The size of your liner is another critical factor to consider. Ensure that the liner fits precisely by measuring your drawer’s full length and width.
Custom cabinetry may require even more precise measurements to achieve a proper fit. If the liner is too small, it may not provide full coverage, exposing parts of the drawer to potential damage.
4. Design
You want to choose a liner that complements the overall design of your kitchen and the aesthetic you have in mind.
With various colors and patterns available, your choices are not limited. Choose the right liner that fits your kitchen and preference, whether it’s a classic look or a pop of color.
5. Shelf Type

The type of shelves you have in your cabinets is also essential to consider. Wood shelves can accommodate any type of liner as they are relatively versatile.
Wire shelves are different, and plastic liners are often the best option due to their rigid structure and the need to prevent items from slipping through gaps. Choose the right liner based on the type of shelf you have to ensure that it will serve its purpose for your kitchen drawers.
Frequently Asked Questions
We found that people have many questions regarding kitchen drawer linings. The following are a few of them that you may find helpful.
How do I keep my non-adhesive kitchen drawer liner in place?
To keep your non-adhesive kitchen drawer liner securely in place, we suggest you create a foam core or poster board base that matches the inside dimensions of the drawer.
For this, you need to cut a foam liner slightly larger than the board and attach it using spray adhesive for a stronghold. Make a pull tab using ribbon and adhesive to lift and remove the drawer bottom easily for cleaning.
This DIY drawer liner is not only practical but also enhances the drawer’s aesthetics. This method is a useful alternative to sticky-backed liners, allowing you to upgrade your drawer lining as needed.
Are kitchen drawer liners washable?
Kitchen drawer liners are washable. They are designed to protect your cabinet and drawer surfaces from spills, stains, and debris. You can easily clean them by wiping them down with a damp cloth for minor stains and spills.
For tougher stains, you can use a little laundry detergent to get rid of them effectively. Most of these liners are machine-washable, so you can follow the manufacturer’s instructions to keep them thoroughly clean whenever needed.
How long do kitchen drawer liners last?
The lifespan of kitchen drawer liners typically ranges from six to nine months. But, this average can vary depending on the material and location of the liners.
High-quality liners and well-protected locations can extend their durability for several years. We recommend keeping your liners clean and maintained to prolong their life.
Keep in mind that liners in frequently-used drawers or in areas with high moisture or temperature fluctuations may wear out faster. Therefore, you need to evaluate and replace the liners as needed to keep your kitchen organized and hygienic.
Conclusion
So, you now know the simple yet effective steps to line your kitchen drawers, ensuring they remain protected and pristine for years to come. By gathering the necessary supplies, cleaning the drawers, and measuring and cutting the perfect liner fit, you can easily enhance your kitchen’s organization and cleanliness.
Remember to choose the ideal liners based on stickiness, material, size, and design to suit your needs and aesthetic preferences.
Keeping your drawers clean and well-maintained will help prolong the life of the liners, ensuring they serve their purpose effectively. With this knowledge, you can enjoy a functional, inviting, organized, and clutter-free kitchen.