Hanging a pot rack on your kitchen wall can transform your cooking space into an organized and efficient hub. Besides saving space, it adds a touch of elegance to your culinary haven. You can easily mount a pot rack with the right tools and a well-planned process.
To install a pot rack on the wall, you’ve got to figure out where it will go. Then, position the pot rack against the wall at the desired height, and mark the screw hole positions.
After that, you need to drill pilot holes, install anchors, and mount the pot rack by aligning the screw holes and using wood screws.
We will explain step-by-step how to hang a pot rack on the wall to organize your kitchen essentials with charm.
Jump to Section
How to Hang a Pot Rack on the Wall: Step-By-Step Guide
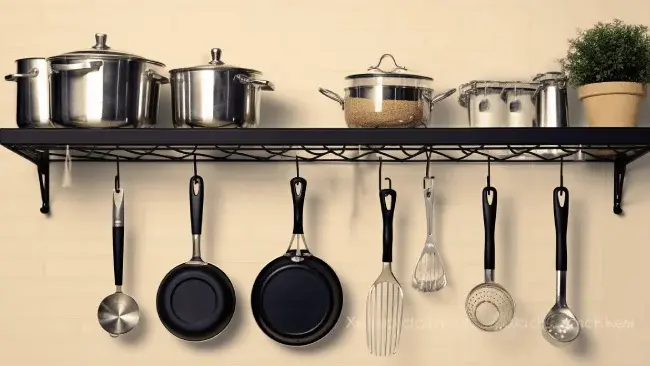
The steps to hanging a pot rack on the wall are pretty simple. You’ll just need to follow some essential steps below.
- Step 1: Gather the necessary supplies
- Step 2: Determine the installation location
- Step 3: Position, level, and mark the screw holes
- Step 4: Preparing for installation
- Step 5: Mount the pot rack
Let’s take a closer look at each step so that you can hang a pot rack in your kitchen.
Step 1: Gather the Necessary Supplies
To successfully hang a pot rack on the wall, you’ll need to gather all the necessary supplies beforehand. First on the list is a carpenter’s level, which will help ensure that your pot rack hangs straight.
You’ll also need a stud finder to locate the best place on the wall to attach the pot rack. Besides that, you’ll need a drill and drill bits to make pilot holes for the screws and drywall anchors with wings to support the screws.
For flush anchors, you’ll need a hammer or mallet. Also, you’ll need 1-1/2-inch wood screws to attach the pot rack to the wall and a screwdriver to tighten the screws.
Step 2: Determine the Installation Location
As soon as you have gathered the necessary supplies, you need to determine where the installation will take place.
When selecting a location for your pot rack, we suggest you consider its accessibility from your cooking area for easy access.
To maximize stability and weight-bearing capacity, try to align the pot rack’s installation with wall studs.
Ensure adequate clearance for your pot rack by ensuring it does not obstruct any doorways, cabinets, or other kitchen elements.
Step 3: Position, Level, and Mark the Screw Holes
Now, to ensure that the pot rack installation goes smoothly, take your time to place it. Take the pot rack in hand and hold it up at the desired height against the wall.
You’ll get a good idea of how it will look once it’s installed, and ensure you have chosen a suitable installation location.
With a pencil, lightly make marks on the wall where the screw holes are located for the pot rack. Next, locate the wall studs closest to these positions using a stud finder to provide maximum strength.
Using a carpenter’s level, align the pot rack with the pencil marks to ensure it is perfectly horizontal.
Step 4: Preparing for Installation
Once you have marked the screw hole positions and located the wall studs, it’s time to prepare for installation. Using a drill and appropriately sized drill bit, create pilot holes through the marked screw holes or any wall studs.
To create pilot holes using a drill bit, begin by positioning the drill bit at the marked screw hole location on the wall.
Apply gentle pressure and start drilling slowly to create a small indentation. You’ll be able to guide the drill and keep it on track.
Gradually increase the drilling speed while maintaining steady pressure. Keep the drill perpendicular to the wall to ensure accurate pilot holes. Once the pilot hole is created, you can proceed with the installation process.
If there are any positions where there are no wall studs, use a slightly larger drill bit to bore holes for the winged drywall anchors.
These anchors will provide much-needed support in the absence of studs. When the holes have been created, insert the winged drywall anchors and gently tap them flush with the wall surface.
Step 5: Mount the Pot Rack
With all the preparations, you can now mount the pot rack successfully. Position the pot rack back against the wall and align the mounting holes to the pilot holes or wall anchors.
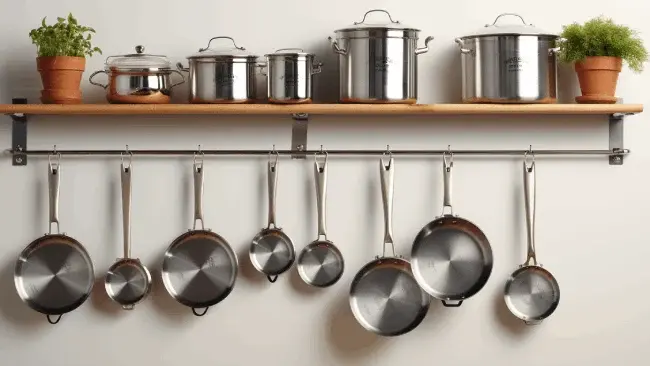
Insert the wood screws into the pilot holes or anchors in the pot rack and through the mounting holes.
Use a screwdriver to tighten all the screws, ensuring the pot rack is level and stable the entire time.
What Are the Different Styles and Finishes Available for Wall-Mounted Pot Racks?
From classic designs to contemporary options, wall-mounted pot racks offer unique storage solutions for your kitchen essentials. Among them are:
1. Styles and Shapes
Wall-mounted pot racks come in different styles and shapes, catering to various kitchen aesthetics and storage needs. The following are listed:
Classic Rectangular Rack: A timeless choice with a grid-like structure for various pot sizes, blending seamlessly with any kitchen style.
Round or Circular Rack: Elegant and compact, perfect for contemporary kitchens, featuring a central hanging point and outward hooks.
Half-Round Rack: Curved design for small kitchens, maximizing vertical space while adding style and storage.
Corner Rack: Triangle or quarter-circle shape utilizes corner space, offering a unique display for cookware.
2. Shelving Options
Regarding shelving options, wall-mounted pot racks provide versatile solutions to organize your cookware while complementing your kitchen space efficiently. The following are among them:
Single Shelf: Some wall-mounted pot racks offer a single shelf or bar for hanging pots and pans. This minimalist design suits kitchens with limited wall space or those who prefer a sleek and simple look.
Multi-Tiered Shelves: For those with a larger collection of cookware, multi-tiered pot racks provide multiple levels of hanging space. These racks often include different lengths of hooks to accommodate various pot sizes.
3. Finishes
As for finishes, wall-mounted pot racks present a range of choices that add style and durability to your kitchen setup. They’re:
Stainless Steel: Modern and durable, resistant to rust and stains, suitable for contemporary kitchens.
Wrought Iron: Timeless and rustic, with intricate details adding elegance and durability to your kitchen.
Wood and Metal Combination: Balanced design combining wood warmth with metal sturdiness, enhanced by accents.
Powder-Coated Finishes: Aesthetic variety and scratch resistance, with colors to match or contrast kitchen decor.
Copper: Luxurious and classic, featuring warm colors and developing a unique patina over time.
Frequently Asked Questions
We discovered that there are some questions on the wall pot rack that people always ask. You can find some of them below.
How high should a wall-mounted pot rack be hung?
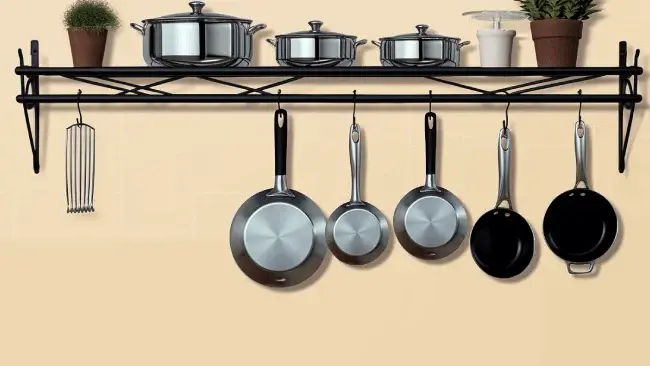
For easy access to your hanging pots and pans, you need to mount the pot rack at a height that’s comfortable to reach and doesn’t obstruct movement.
A good rule of thumb we found is to place the pot rack about 42 inches above the counter space or work area below.
When determining the ideal height for a device, it is necessary to consider the reach height of the user. For example, if you’re around 5’4′ tall, adding an additional 6 to 10 inches for a comfortable reach puts your pot rack at approximately 70 inches in total height.
Ensure that your pots hang at least 8 inches below the bottom of the pot rack to allow for sufficient clearance.
How much weight can a wall-hanging pot rack hold?
A contemporary wall-hanging pot rack can hold a substantial weight, with load-bearing capacities reaching up to 200 pounds or more.
You should verify the specific load-bearing capacity of your chosen pot rack before making a purchase. This is because different designs and materials can influence a pot rack’s ability to hold weight effectively.
Therefore, when selecting a pot rack, you should prioritize one that aligns with the combined weight of your cookware collection so you can store everything safely.
What is the ideal size for a wall-mounted pot rack in a kitchen?
The ideal size will depend on your kitchen’s layout, the amount of cookware you have, and your personal aesthetic preferences. When choosing a wall-mounted pot rack for your kitchen, it’s recommended that you select one that is at least 2 to 3 feet long.
This length will provide ample space for hanging your pots and pans without overcrowding the rack, making your cookware easy to find.
You should also consider the height at which you’ll be mounting the rack to ensure that it doesn’t obstruct movement in the kitchen while remaining within reach.
So, be sure to measure the available space and plan accordingly to achieve a functional and visually pleasing pot rack setup.
Conclusion
It is now possible to hang a pot rack on a kitchen wall easily using this comprehensive guide. Following these simple steps, you can turn your kitchen into an elegant hub.
Take the time to gather your supplies, choose the right location, and use a level to ensure a straight installation. Carefully mark and prepare the screw holes, drill pilot holes, and install anchors as needed. Then, align and mount the pot rack, ensuring its level and stability.
With various styles, shapes, and finishes, you can tailor your pot rack to match your kitchen’s aesthetics. Get started and enjoy the benefits of a tidy and efficient culinary haven.


