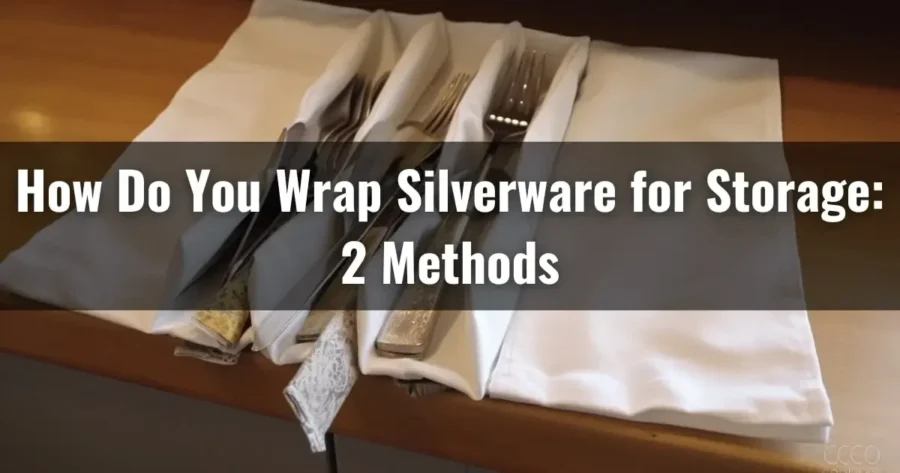
Wrapping silverware for storing in your kitchen flatware organizer is a practical and elegant way to keep your precious utensils organized and protected. You can use two effective methods to ensure your silverware remains in pristine condition.
The first method involves wrapping your silverware in tarnish-resistant felt cloth by folding it neatly around each set. Alternatively, the second method employs plastic cling wrap to securely cover each piece, with fork tines facing up and knife blades down.
We will explore each of these methods step by step, guiding you on how to wrap your silverware with care and precision.
Also, we’ll explore how to efficiently organize your wrapped silverware within your kitchen flatware organizer, allowing easy access.
Jump to Section
How Do You Wrap Silverware for Storage: 2 Methods with Step-by-Step Instructions
We found that chefs frequently wrap their silverware for storing their kitchen flatware using two effective methods.
The methods are as follows:
Method 1: Wrapping Silverware in Tarnish-Resistant Felt Cloth
- Step 1: Gather Your Supplies
- Step 2: Prepare the Tarnish-Resistant Felt Cloth
- Step 3: Arrange the Silverware
- Step 4: Wrap the Silverware
- Step 5: Store in the Flatware Organizer
Method 2: Using Plastic Cling Wrap
- Step 1: Prepare the Silverware
- Step 2: Cover the Silverware
Now proceed to examine each method with detailed instructions so you can wrap your silverware for storage on a flatware organizer.
Method 1: Wrapping Silverware in Tarnish-Resistant Felt Cloth
To prevent your silverware from tarnishing, a great method is to wrap it in tarnish-resistant felt cloth. This cloth creates a protective barrier, keeping your silverware shiny and polished. Here’s what you do:
Step 1: Gather Your Supplies
To begin with, make sure you have all the supplies you’ll need for wrapping your silverware.
Gather tarnish-resistant felt cloth, your silverware sets (forks, knives, spoons), and optionally, napkin rings or ribbons for decoration.
Step 2: Prepare the Tarnish-Resistant Felt Cloth
Once you have all your supplies ready, you will need to cut the tarnish-resistant felt cloth into large pieces to wrap your silverware set. Lay the felt cloth flat on a clean surface.
Then, carefully trim the cloth into square or rectangular pieces using sharp scissors or fabric shears.
Ensure each piece is large enough to accommodate the silverware set you comfortably intend to wrap while leaving enough extra material to fold over the utensils.
Step 3: Arrange the Silverware
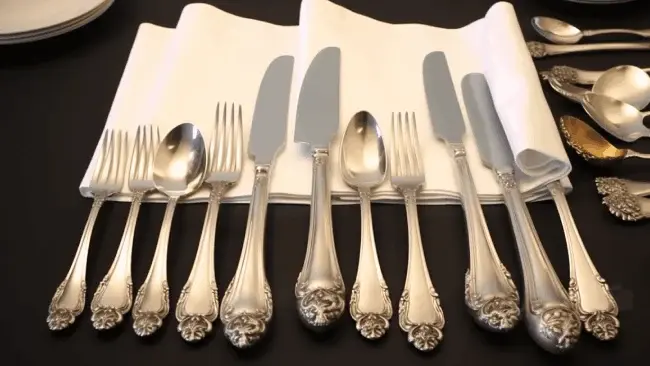
Now, lay out the silverware neatly on the felt cloth. Use the traditional order of forks, knives, and spoons.
Typically, a complete set includes a dinner fork, salad fork, dinner knife, teaspoon, and soup spoon. Ensure that they are evenly spaced, aligned, and centered on the felt cloth.
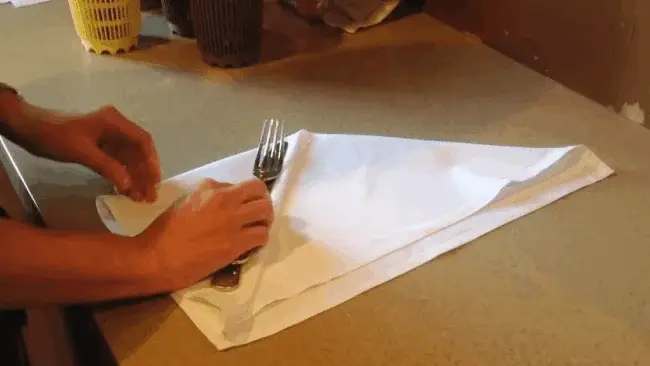
Step 4: Wrap the Silverware
It’s time to wrap the silverware in your prepared tarnish-resistant felt cloth. Begin by folding the cloth over the utensils, choosing to fold it lengthwise or widthwise, depending on the size of your flatware organizer.
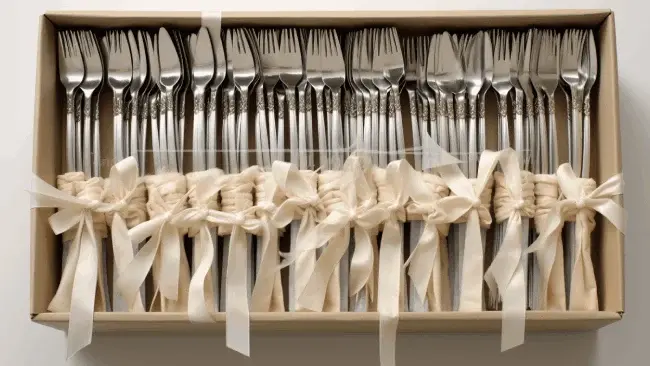
Then, roll the cloth around the silverware set, ensuring it is snug but not too tight. You can also secure the roll with a napkin ring or a decorative ribbon for an elegant touch.
Method 2: Using Plastic Cling Wrap
To protect your silverware from tarnishing, another practical method that many cooks employ is the use of plastic cling wrap. Here’s how to wrap silverware:
Step 1: Prepare the Silverware
Before wrapping your silverware in plastic cling wrap, make sure that it’s clean and dry. To clean your silverware, use a soft cloth and mild soap. Once clean, dry each piece thoroughly.
Step 2: Cover the Silverware
Once your silverware is dry, it’s time to cover it with plastic cling wrap. Begin by laying out a piece of plastic cling wrap on a clean, flat surface.
Next, place the silverware set in the center of the cling wrap. Make sure to arrange the pieces neatly, with the fork tines facing up and the knife blades facing down.
After that, fold one side of the cling wrap over the silverware and tuck it underneath.
Roll it tightly with the cling wrap securely tucked under your silverware, ensuring it’s securely sealed.
How to Arrange Wrapped Silverware in the Kitchen Flatware Organizer?
To arrange your wrapped silverware on the flatware organizer in the kitchen, follow these instructions:
Step 1: Empty the Organizer
To start organizing your silverware, the first step is to empty your kitchen flatware organizer completely.
Remove all the utensils, cutlery, and silverware from their designated compartments or holders within the organizer. Take care when handling sharp knives to prevent accidents.
Once the flatware is removed, give the organizer a quick shake or tap to dislodge any loose crumbs or debris. Next, wipe down the organizer’s interior with a damp cloth or sponge to remove any residue or spills.
Step 2: Group Your Wrapped Silverware Sets
The next step is to group your wrapped silverware sets by type. Place all the dinner forks in one pile, salad forks in another, dinner knives in another, teaspoons in another, and soup spoons in another.
Step 3: Assess the Organizer’s Compartments
Once you have grouped your silverware sets, take a moment to assess the organizer’s compartments.
Most flatware organizers come with compartments designed for specific types of silverware, such as knives or teaspoons.
Identify which sections are intended for each type of silverware. You’ll be able to visualize organizing your silverware and making the process more manageable.
Step 4: Place the Silverware Sets
Now it’s time to place the silverware sets in your kitchen flatware organizer. Here’s how you can palace silverware sets:
Dinner Forks
Place these in the compartment labeled for dinner forks. If your organizer doesn’t have labeled compartments, you can create your own labels or simply place them in one section.
Salad Forks
If there’s a designated space, use it for salad forks as well, ensuring that your table setting remains organized and visually appealing.
If not, allocate a section in your kitchen flatware organizer specifically for salad forks.
Dinner Knives
Ensure that the dinner knives are placed in a separate section or compartment to keep them organized and easily accessible.
You should check that the knife blades are facing down to avoid any accidents when reaching for them.
Teaspoons
To keep them easily accessible, locate the compartment labeled or designated for teaspoons in your kitchen flatware organizer. If there’s no labeling, simply designate a section specifically for teaspoons.
Soup Spoons
Find a designated compartment or section in your kitchen flatware organizer to keep your soup spoons separate. This will ensure that your spoons are easily accessible and organized.
Consider placing them in a separate section from your teaspoons to avoid confusion. You can also use dividers or small containers to organize your soup spoons further.
FAQ’s: How Do You Wrap Silverware for Storage: 2 Methods
There are many questions that people have regarding the wrapping of silverware for storage. That’s why we have gathered and answered a few questions that may also be on your mind.
1. Is it necessary to wrap each piece of silverware individually?
It is not always necessary to wrap every piece of silverware individually, but it depends on your storage conditions and preferences.
Wrapping silverware individually is a more thorough method, ensuring each piece is fully protected from air exposure and potential scratching.
However, suppose you’re using tarnish-resistant materials like clean tissue paper or plastic wrap and storing silverware in a controlled, low-humidity environment. In that case, you can consider wrapping them in sets to save time and effort.
Also, using chalk in storage bags can help absorb moisture and prevent tarnish. The choice between individual or set wrapping should be based on your specific needs and the level of protection you want for your silverware.
2. How can I label my wrapped silverware for easy identification?
For labeling your wrapped silverware for easy identification, you can use adhesive labels, stickers, or small tags to indicate the contents of each wrapped set or piece.
Consider including details such as the type of silverware (e.g., dinner fork, teaspoon), the number of pieces in each set, or any unique patterns or designs.
Alternatively, you can color-code your labels to distinguish between different types of silverware quickly.
3. Is storing wrapped sharp knives in a flatware organizer safe without special knife guards?
Keeping wrapped sharp knives in a flatware organizer without special knife guards can be risky and is generally not recommended.
While wrapping knives can provide some protection, it may not be sufficient to prevent accidents or damage to the knives.
Knives can easily pierce through the wrapping material, potentially causing injury when reaching into the organizer.
Knife guards, magnetic knife strips, or a separate knife block designed to hold and protect sharp blades are recommended to ensure safety and preserve sharpness.
These specialized storage options offer better protection and minimize the risk of accidents while keeping your knives in top condition.
Conclusion
When you want to wrap and store your silverware in your kitchen flatware organizer, you now have two effective methods at your disposal.
Whether you choose the timeless elegance of tarnish-resistant felt cloth or the practicality of plastic cling wrap, the goal remains to keep your delicate utensils organized.
By following the step-by-step instructions given, you can wrap silverware carefully and precisely, keeping them in pristine condition.
When arranging your wrapped silverware in your flatware organizer, remember to group them by type for convenient access and clutter-free kitchens.
With these techniques, your silverware will shine, and your dining experiences will be even more enjoyable.