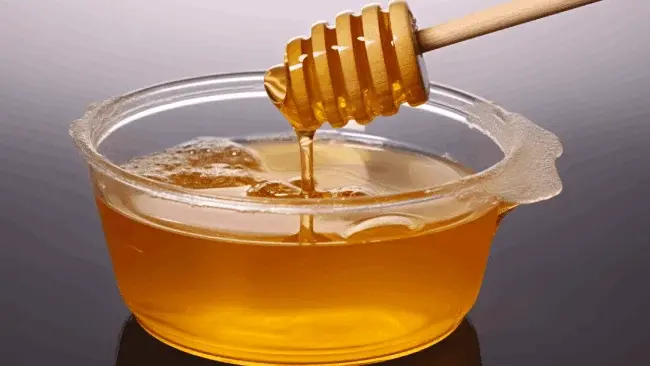
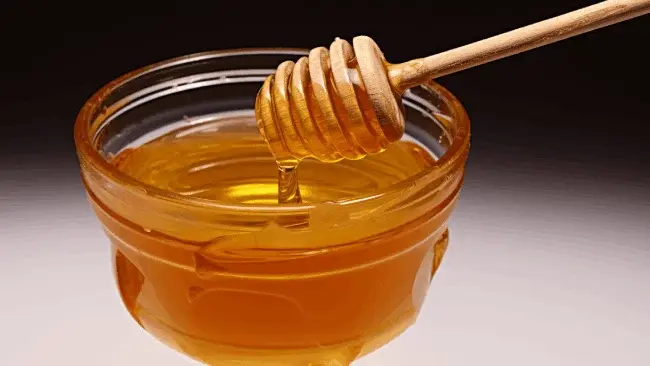
Plastic container storage has become a common choice for keeping honey in the kitchen due to its convenience and reliability. Despite this, you may encounter crystallized honey, which can become a solid, grainy texture from a liquid, smooth and golden.
If you know how to liquify honey in plastic containers, you can keep honey liquid without worrying about crystallizing.
To liquefy honey in a plastic container in your kitchen, prepare a water bath by filling the pot halfway with water and placing it on the stove. Place the plastic honey container in the pot and heat the water on low heat.
Remember to stir occasionally to ensure even heating. Your honey will be liquified and ready to consume within a short period.
Here, we will take you through the simple yet effective technique of liquifying honey in your kitchen. We also discuss the causes of crystallized honey and methods on how to prevent it from happening.
Jump to Section
How to Liquify Honey in Plastic Container: Steps Explained
Sugar in honey naturally crystallizes over time, especially when stored in cold temperatures.
Here’s a simple technique to liquefy the honey and enjoy its sweet flavor:
- Step 01: Materials needed
- Step 02: Prepare the pot and water bath
- Step 03: Place the Honey container in the pot
- Step 04: Heat the water
- Step 05: Stir occasionally
- Step 06: Monitor the Honey
- Step 07: Remove from heat
- Step 08: Dry the container
- Step 09: Consume the liquified honey and store the container
Step 01: Materials Needed
Before you begin, make sure you have all the necessary materials for liquifying honey in a plastic container in your kitchen. You’ll need:
- A medium-sized pot
- Water
- A kitchen thermometer (optional)
- A clean, dry kitchen towel or paper towel
- A clean, dry spoon or stirring utensil
Step 02: Prepare the Pot and Water Bath
Fill the pot with enough water to submerge the plastic container without allowing it to float. The water should be at least a few inches deep.
We recommend choosing a saucepan to accommodate the plastic container and leave some space for the water to circulate. It’s recommended to use a medium-sized pot for this process.
Step 03: Place the Honey Container in the Pot
Gently lower the plastic container with the crystallized honey into the water pot, ensuring it’s fully submerged. The water level should cover at least 75% of the honey container. Placing the container directly into the pot allows for even heat distribution and ensures that the honey will melt evenly.
Step 04: Heat the Water
Place the saucepan on the stove and turn the heat low- or medium-low. We recommend avoiding boiling the water, which can overheat the honey and affect its quality.
You can use a kitchen thermometer to ensure the water reaches the correct temperature. Aim for a temperature below 47°C (116°F). You can estimate the temperature by maintaining a gentle simmer if you don’t have a thermometer. This means the water should be hot but not bubbling vigorously.
Step 05: Stir Occasionally
Occasionally, stir the honey in your plastic container with a spoon or stirring utensil while it warms up to speed up the liquefying process. Stirring the honey helps to evenly distribute the heat throughout the container, allowing the honey to melt more quickly and efficiently.
Step 06: Monitor the Honey

As the honey sits in the warm water bath, the crystals will gradually dissolve, causing the honey to become more liquid.
You should keep an eye on the process as it may take anywhere from 30 minutes, as the amount of crystallization and water bath temperature vary.
Step 07: Remove From Heat
Once you’ve reached the desired liquid consistency, turn off the stove and carefully remove the plastic container from the hot water.
To avoid any water contamination, ensure not to let any water come into contact with the honey inside the container. Use oven mitts or a towel to protect your hands from the heat as you handle the container.
Place the container on a heat-resistant surface and allow it to cool down before handling it further.
Step 08: Dry the Container
Thoroughly dry the plastic container outside using a clean kitchen towel or paper towel.
We recommend using the kitchen towel or paper towel to carefully wipe the container, making sure to reach all areas, including the lid and the sides. Pay close attention to any crevices or edges where water might collect.
Step 09: Consume the Liquified Honey and Store the Container
Now that the liquified honey is ready, you may enjoy it as desired. You can use a spoon or a straw to consume the honey.
Once you’ve finished consuming the liquified honey, store your liquified honey container in a cool, dark place to maintain its freshness and quality. Make sure that it’s sealed tightly.
What Causes Honey to Crystallize in Plastic Containers?
According to our research, several factors are responsible for honey crystallization in plastic containers.
Reason 1. Temperature Fluctuations
Kitchens often experience temperature fluctuations due to cooking between day and night, which can trigger this process. Plastic containers are particularly susceptible to this phenomenon, as they don’t provide as much insulation as glass containers.
Once the crystallization starts, it spreads throughout the honey, affecting its texture and making it difficult to pour or use.
Reason 2. Moisture Content
The increased moisture in your kitchen can cause honey to crystallize in plastic containers. Natural honey contains trace amounts of water, and when exposed to humid conditions, the moisture level rises, accelerating crystallization.
Plastic containers may not provide as tight a seal as glass ones, making them more susceptible to moisture ingress from the surrounding environment. This added moisture can promote the formation of sugar crystals in the honey.
Reason 3. Impurities and Agitation
Impurities, such as pollen, wax particles, and dust, act as nuclei for crystallization. When honey is agitated or stirred frequently, these impurities become suspended in the liquid.
Over time, the impurities provide a surface for sugar crystals to form and grow, leading to crystallization. Plastic containers are more prone to agitation, as the material is more flexible and can be easily moved or shaken. This can accelerate the crystallization process compared to a sealed glass container.
How Do You Store Honey to Prevent Solidification In a Plastic Container?
There are a few key points to remember to prevent honey from solidifying in plastic container storage.
i. Maintain Stable Temperatures
Store your honey in a cool and stable environment to prevent it from solidifying in the plastic container. Maintaining a temperature range between 70-80°F (21-27°C) is key. This can be achieved by storing the honey in a kitchen cupboard or pantry, away from heat-generating appliances such as the stove or oven.
ii. Ensure Proper Sealing
A properly sealed container is crucial in maintaining the quality of the honey and preventing crystallization. When using a plastic container, we recommend that the lid or cap is securely closed after each use.
Check for gaps or openings that could allow air or humidity to enter, as this can lead to the honey absorbing moisture and solidifying.
iii. Store in a Dry Place
Keep your honey in a plastic container away from any sources of moisture to prevent it from solidifying. Avoid placing the container near sources of humidity, such as the dishwasher, sink, or any areas with high moisture content in your kitchen.
Note: Use a Glass Container Instead (Better Option)
If you dislike plastic containers, transfer your liquid honey from the plastic container to a glass container to prevent it from solidifying.
Glass containers provide better insulation and a more stable environment for honey storage in your kitchen. The glass’s insulation property helps maintain a consistent temperature, preventing the honey from crystallizing.
Also, glass containers don’t contain any chemicals that could react to change the color or flavor of honey. Choose a glass container with an airtight seal to keep moisture and impurities out.
Frequently Asked Questions
Can you microwave honey in a plastic container?
Not all plastic containers are suitable for microwaving, as they can release harmful chemicals into your food when exposed to high temperatures.
When heated, plastic can leach toxins such as BPA (bisphenol A) and phthalates into your honey, harming your health. Transferring your honey into a glass or ceramic container before microwaving is recommended. Or choose microwave-safe labeled plastic containers.
How long does it take for honey to crystallize?
The time it takes for honey to crystallize can vary, but it typically occurs after three to six months of plastic container storage in your kitchen. Factors such as temperature and honey composition can influence the speed of crystallization.
Although it may seem concerning, crystallization is a natural process that helps preserve the honey. It isn’t an indication that the honey has gone bad. In some cases, crystallization can happen within a few weeks, especially if the honey has a higher glucose content.
Conclusion
Now you know how to liquify honey in a plastic container and the rate at which it might crystallize. Honey crystallization can be avoided by understanding the factors that lead to it and applying the methods we’ve discussed above.
With proper storage, sealing, and gentle heat, your honey will stay in its delightful liquid form, ready to sweeten your favorite recipes and warm your heart.
So, embrace the art of honey revival in your kitchen, and let the golden nectar flow freely once more.