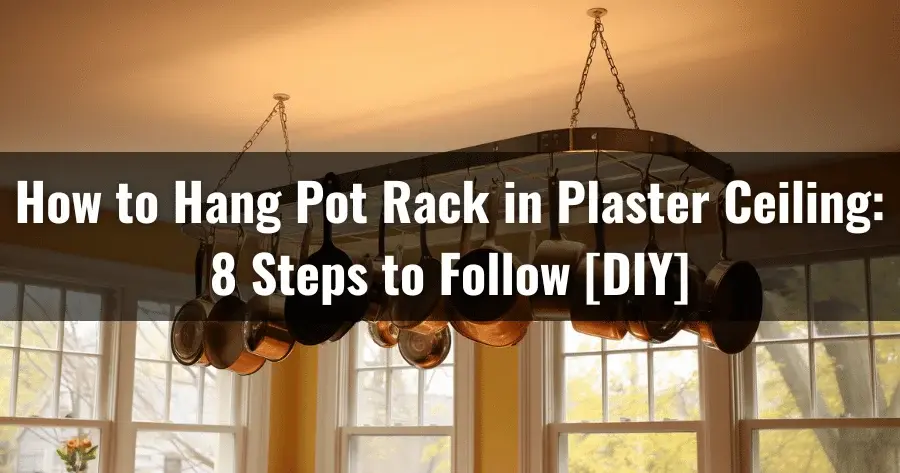
Hanging a pot rack on a plaster ceiling can be a functional addition to your kitchen. However, due to the delicate nature of plaster, proper installation is crucial to avoid damage to the ceiling and ensure the safety of your space.
To properly install your pot rack, use a stud finder, mark the spots with a pencil, drill pilot holes using masonry bits, and insert toggle bolts into each hole. Once done, attach the pot rack to the toggle bolts using screws. To ensure its stability, ensure its level before tightening all screws completely.
The following article will provide a step-by-step guide on how to hang a pot rack on a plaster ceiling, ensuring safety, stability, and functionality. So, keep reading to explore the best practices for hanging a pot rack on a plaster ceiling.
Jump to Section
How to Hang Pot Rack in Plaster Ceiling: DIY Steps
Taking the following step-by-step approach will help you hang a pot rack on your plaster ceiling:
Materials You’ll Need:
- Electronic stud finder
- Pencil
- Tape measure
- Level
- Drill & Drill Bits
- Anchors (toggle bolts, butterfly anchors, or similar)
- Screws
- Pot rack kit (including chains or hooks)
- Wire or coat hanger (optional)
Step 1: Choose the Proper Pot Rack
Assess your kitchen’s size and style to determine the pot rack that best suits your needs. Consider the available space and the number of pots and pans you want to hang.
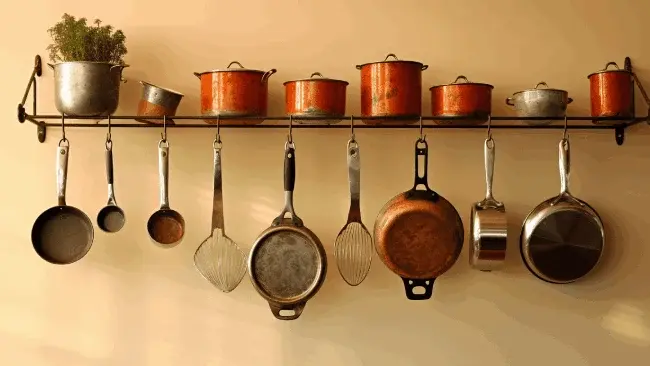
A wall-mounted pot rack might be ideal if you have a small kitchen. These racks can be easily installed on any wall surface, providing an efficient storage solution without wasting valuable counter or cabinet space.
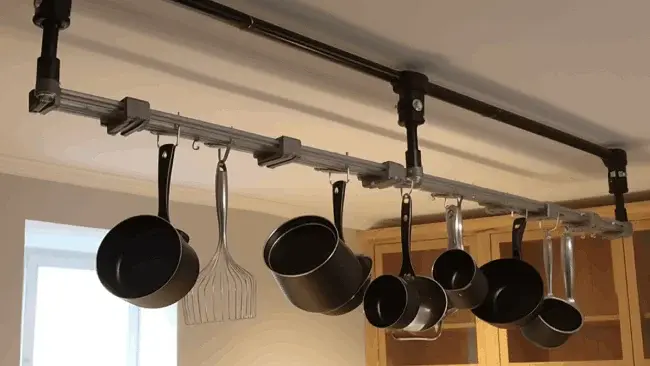
Alternatively, a hanging pot rack could be the perfect choice for a larger kitchen with high ceilings. These racks are suspended from the ceiling, allowing easy access to your cookware while adding a stylish focal point to your kitchen decor.
Step 2: Determine the Hanging Location
To find the ideal spot for hanging, consider your kitchen layout and ensure that the chosen location doesn’t obstruct any lighting or natural light sources. Look for a space that is easily accessible and won’t interfere with your daily kitchen activities.
Consider hanging the pot rack over sinks or counters to maximize convenience. Maintaining balance is important, so use a plumb bob to mark the exact location before installation. This will ensure your pot rack hangs straight and level on your plaster ceiling.
Step 3: Locate the Joists for Hanging
Use an electronic stud finder to easily locate the ceiling joists for hanging your pot rack securely. Start by turning on the stud finder and running it along the ceiling until it beeps or lights up to indicate that it has detected a joist.
Once you have found one joist, measure 16 inches from its center to find the location of the next joist. Continue this process until you have marked all the joists with a pencil.
Remember, hanging your pot rack from these joists is essential as they provide the necessary support to hold its weight and prevent accidents or damage.
Step 4: Drill into Joists
Now, carefully drill holes into the marked joist locations to create anchor points. Use a drill bit slightly smaller than the screws or lag bolts you’ll use. This ensures a snug fit and prevents wobbling or movement of your pot rack after installation.
Start by placing the drill bit tip on one of the marked locations and apply gentle pressure as you begin drilling. Keep the drill level and straight to avoid angled or crooked holes.
Once all the holes are drilled into the joists, remove excess debris from the area with a brush or vacuum cleaner. Your anchor points are now ready for installation.
Step 5: Attach the Pot Rack
Hang the pot rack from the installed screw hooks or lag bolts. Make sure the chains or hooks on the pot rack are securely fastened.
When securely fastening the chains or hooks, check for any loose connections and tighten them as needed. Tightening any loose connections prevents the risk of the pot rack from falling and causing damage or injury.
Use a wrench or pliers to tighten each connection carefully, ensuring they are properly secured. Pay close attention to every chain link or hook attachment point, ensuring no movement or play in the connections.
Once you have tightened all the connections, give the pot rack a gentle tug to confirm its stability. If everything feels secure, you have successfully attached your pot rack to your plaster ceiling.
Step 6: Adjust the Pot Rack Height
To ensure proper safety and accommodate different ceiling heights, you’ll need to adjust the height of your pot rack. This will prevent accidental bumps and ensure that the pot rack is at a comfortable height for easy access.
Measure the distance from the floor to your desired hanging point on the ceiling. Next, use pliers or wire cutters to remove excess chain links, keeping in mind that the bottom of the pot rack should be at least 7 feet above the floor.
Step 7: Check for Levelness
Use a spirit level to ensure the pot rack is level from all sides to ensure proper balance, especially considering the varying weights of pots and pans.
To check for levelness, place the spirit level on top of the pot rack and adjust accordingly until the bubble in the level is centered between the lines. Then, move to each side of the pot rack and repeat the process.
Step 8: Safely Hang Pots and Pans
After leveling the pot rack, evenly distribute your pots and pans to prevent any imbalances and maintain stability. Start by selecting a sturdy hook or S-hook that can support the weight of your cookware. Attach it securely to the pot rack’s framework.
Then, carefully hang each pot or pan one by one and spread them evenly across the rack. Avoid placing all the heavy items on one side, leading to an imbalance or exceeding the rack’s maximum weight capacity.
FAQ’s
To better understand this topic, let’s examine some frequently asked questions:
Why is hanging a pot rack in a plaster ceiling different from other ceilings?
Hanging a kitchen pot rack on a plaster ceiling requires special care due to the fragile nature of plaster. Unlike drywall ceilings, which are more forgiving, plaster can crack and chip easily if not handled properly.
When installing a pot rack in a plaster ceiling, locate the studs to ensure proper support for the weight of the pots and pans. That’s why a stud finder is recommended to identify the studs’ location accurately.
How do I find a suitable location to hang the pot rack?

To ensure proper installation, finding a location for the pot rack that won’t obstruct any ceiling lights or natural light sources is important. Identify a spot that is easily accessible from your cooking and prep areas. This will make it convenient for you to grab pots and pans when needed.
Are there any alternatives to hanging pot racks from ceiling joists?
You can consider using toggle bolts or other suitable anchors if your desired location for the pot rack doesn’t align with the ceiling joists.
Toggle bolts are a great alternative for hanging a pot rack from a plaster ceiling. These specialty anchors provide extra support and stability, ensuring that your pot rack stays securely in place.
This alternative method also allows you to hang your pot rack wherever it suits your kitchen layout, even if it’s not directly aligned with ceiling joists.
How much weight can a hanging pot rack hold?
If you’re considering hanging a pot rack in your kitchen, knowing how much weight it can hold is important. Many contemporary pot racks are designed to support up to 200 pounds of cookware, but it’s always best to check the load-bearing capacity before purchasing.
The weight capacity of a hanging pot rack is determined by its design and construction materials. Some pot racks have sturdy metal frames and reinforced hooks, allowing them to handle heavier loads. However, others may have lower weight limits due to their construction.
Consider the weight of your cookware collection and choose a pot rack that can accommodate it safely.
Upgrade Your Kitchen Space: Carefully Hang a Pot Rack on a Plaster Ceiling
Hanging a pot rack on a plaster ceiling requires careful planning and execution. Following our step-by-step guide, you can successfully hang your pot rack and add functionality and style to your kitchen.
Ensure you choose the proper pot rack, locate the joists for hanging, and drill into them securely. Always consider the weight capacity of your pot rack and ensure it is suitable for your needs.
With these tips in mind, you’ll be able to enjoy a beautifully organized kitchen quickly. So, elevate your cooking space and enjoy a clutter-free kitchen with a beautifully hung pot rack.