Storing food with a vacuum sealer in your kitchen provides an excellent solution for efficient, long-lasting bulk food storage and preservation. Besides keeping your food fresh and nutrient-rich, vacuum sealing reduces food waste and saves you money.
The process of vacuum sealing foods starts with cleaning, trimming, and portioning the foods appropriately. Then, select a vacuum-sealing bag or roll, insert the food, and use the vacuum sealer to remove air from the bag, creating an airtight seal.
We will discuss the entire process in detail of storing food with a vacuum sealer. In addition, we’ll also talk about what kinds of foods should and shouldn’t be vacuum-sealed so you’ll know what to do.
Jump to Section
How to Store Food With Vacuum Sealer: A Step-by-Step Guide
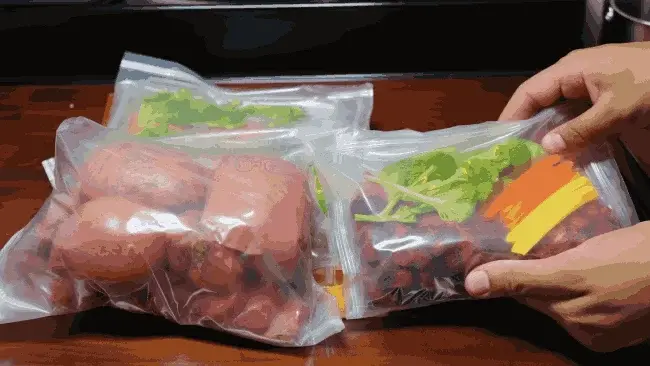
Here are the steps you need to follow in order to store food using a vacuum sealer:
- Step 1: Gather your supplies
- Step 2: Prepare the food
- Step 3: Prepare the vacuum bag
- Step 4: Seal the bag using the vacuum sealer
- Step 5: Label and date
- Step 6: Store the vacuum-sealed food
Step 1: Gather Your Supplies
Before you begin, ensure you have all the necessary supplies for storing food with a vacuum sealing machine.
The first item you’ll need is a reliable vacuum sealer machine. There are two types to choose from: countertop and handheld models. Consider your needs and preferences before making a purchase.
Next, you’ll need vacuum-seal bags or rolls. These bags are specially designed to work with vacuum sealers and help prolong the shelf life of your food. If you opt for rolls, you can customize the bag sizes, reducing waste.
Don’t forget to have a pair of scissors on hand to cut the rolls to the desired length.
Also, gather the food you want to vacuum seal. Ensure it’s fresh and properly stored before sealing it with your vacuum sealer.
Step 2: Prepare the Food
It is now necessary for you to prepare the food for vacuum sealing. If you intend to vacuum seal vegetables, our suggestion is to blanch them before vacuum sealing. Blanching involves briefly immersing them in boiling water and then cooling them in ice water. This process preserves their color, flavor, and nutrients.
For meats, ensure that meats are properly trimmed, and excess fat is removed. Pat them dry with a paper towel to prevent excess moisture in the bag. Portion the food appropriately based on your future use, whether it’s single servings or family-sized portions.
Step 3: Prepare the Vacuum Bag
When preparing your vacuum bag, select the most appropriate size for your food item. If you’re using rolls, cut them to the desired length, leaving extra room for sealing.
Your chosen bulk food storage vacuum bag should be clean. To protect the sealing area from contact with food, fold over about 1.5 inches (3.8 cm) of the bag’s top edge.
Step 4: Seal the Bag Using the Vacuum Sealer
After preparing the vacuum bag, it is time to seal it with the vacuum sealer machine. Place the prepared food into the vacuum bag. Leave at least 2 inches (5 cm) of space between the open end of the bag and the food to allow for proper sealing.
Insert the open end of the bag into the vacuum sealer’s chamber. Follow the manufacturer’s instructions for operating the vacuum sealer. Typically, you’ll press a button to initiate the vacuum and sealing process.
The vacuum sealer will eliminate air from the bag, resulting in an airtight seal around the food. Once the process is complete, the bag should be tightly sealed.
Step 5: Label and Date
To ensure proper organization and freshness tracking, label and date the vacuum-sealed bags. When labeling, we suggest using a permanent marker or labeling stickers that can withstand the test of time. Start by noting the date of sealing, as this will give you a clear idea of how long the food has been stored.
Additionally, make sure to include the type of food inside each bag. This will save you time and effort when searching for specific items in your freezer or pantry.
Step 6: Store the Vacuum-Sealed Food
Now, store the vacuum-sealed food in the appropriate storage area based on the type of food and its storage requirements.
For dry goods like grains, cereals, and spices, it’s best to store them in a cool, dry pantry or cupboard. Ensure that they are kept away from any moisture or heat sources.
You need to keep perishables like meat, vegetables, and hard cheeses in the fridge right after vacuum sealing. This helps to maintain their freshness and prevent the growth of harmful bacteria.
If you plan to freeze foods like meats, fish, fruits, and vegetables, place them in the freezer after vacuum sealing.
What Types of Foods Are Suitable for Vacuum Sealing?
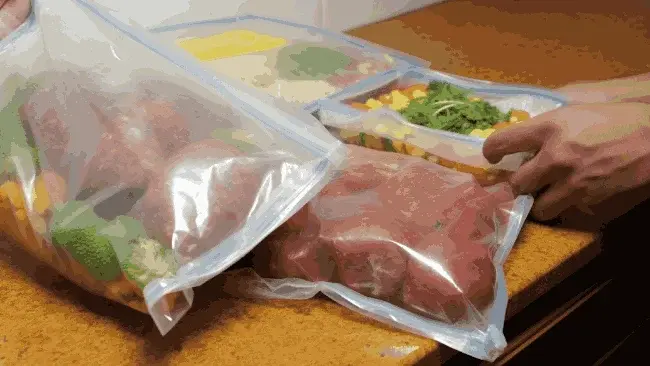
Vacuum sealing is versatile and suitable for various types of foods, including:
1. Meat: You can vacuum seal any cut of meat, from steak to chicken breasts, to preserve their tenderness and prevent freezer burn.
2. Fish: Vacuum-sealing fresh fish before cooking can help infuse the flavors of marinade or seasonings more deeply into the flesh.
3. Vegetables: From crisp green beans to colorful bell peppers, vacuum sealing helps retain the nutrients, flavor, and color of your vegetables, making them perfect for meal prep.
4. Soups and Stews: To avoid the hassle of portioning out leftovers, vacuum sealing your soups and stews in single-serving quantities makes reheating easy and quick.
5. Grains and Legumes: Grains and legumes can also be vacuum sealed, which helps prevent them from becoming stale or infested. This is especially helpful for bulk storage, as it allows you to keep them fresh for longer periods of time.
6. Hard Cheese: Vacuum-sealing cheese like parmesan or cheddar keeps them fresh and flavorful for longer by preventing them from drying out or going moldy. You can even pre-grate cheese and store it in individual bags to use as needed.
7. Bread: If you love baking bread at home, vacuum-sealing slices or loaves makes it easy to prevent it from going stale.
8. Herbs and Spices: From rosemary to cinnamon, vacuum-sealing herbs and spices help keep them fresh and potent for cooking.
9. Coffee and Tea: Vacuum-sealing coffee and tea can help preserve their flavors longer and protect them from moisture or other contaminants in the air.
10. Fruits: Whether it’s for breakfast smoothies or baking desserts, vacuum-sealing fruits like strawberries or raspberries allow you to enjoy them year-round.
Which Foods Should Not Be Vacuum Sealed?
While vacuum sealing is suitable for many foods, certain items should not be vacuum sealed due to the absence of oxygen, which can lead to spoilage and bacterial growth:
1. Soft Cheeses
It’s best to refrain from vacuum sealing soft cheeses like Brie, blue cheese, goat cheese, ricotta, and mozzarella, especially if they’re fresh, unpasteurized, stored in liquid, wet, sticky, or double/triple-creme.
The lack of oxygen in the vacuum-sealed bag causes the cheese to break down and become mushy, altering its texture, aroma, and flavor.
2. Raw Onions and Garlic
Avoid vacuum-sealing raw onions and garlic as they emit gasses that can inflate the bag, leading to spoilage even after sealing. Furthermore, vacuum-sealing onions could cause them to lose their pungency and become soggy.
3. Raw Mushrooms
While mushrooms are versatile in many dishes, raw mushrooms don’t fare well when vacuum-sealed. The ripening cycle that mushrooms undergo causes them to decay more rapidly in a vacuum-sealed environment, making them unappetizing and unsafe to consume.
4. Raw Bananas
Bananas are a popular fruit but are not optimal for vacuum sealing. They ripen quickly in an anaerobic environment, which a vacuum-sealed bag creates. However, freezing them before vacuum sealing can preserve their freshness, sweetness, and texture.
5. Whole Apples
If you’re planning to vacuum seal apples, remember that they should be sliced, brushed with lemon juice, and sealed immediately to help maintain their color. The enzyme in apples, polyphenol oxidase, reacts with the oxygen in the air, turning the apples brown, but the citric acid in lemon juice can prevent this reaction.
Frequently Asked Questions
We notice that many homeowners have questions regarding bulk food storage using a vacuum sealer. Here are some you might find helpful:
How long does vacuum-sealed food last?
When you vacuum-seal food and store it in freezing conditions, you can expect it to remain fresh for an extended period, typically lasting from 5 to 6 months, in some cases, up to 1 to 2 years. It depends on your freezer’s capacity and efficiency.
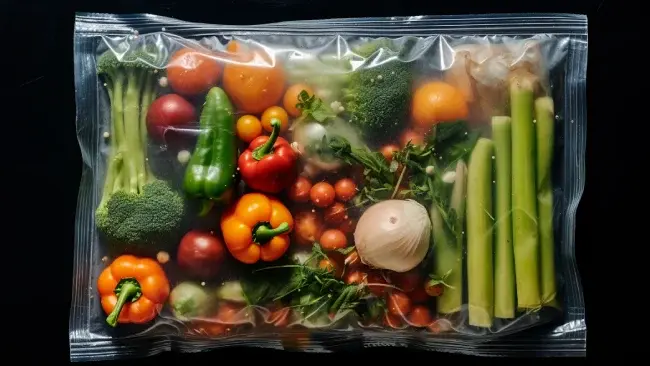
However, if you opt for refrigerated storage after vacuum sealing, the shelf life is shorter, typically ranging from 1 to 2 weeks. Refrigeration slows down the spoilage process but doesn’t extend the freshness as significantly as freezing. So, for long-term preservation, freezing is the way to go with vacuum-sealed food items.
Can I reuse vacuum-sealed bags?
You can reuse vacuum-sealed bags, but you should take certain considerations into account. While the bags can often withstand multiple uses, it’s crucial to ensure they are thoroughly cleaned and free from residual food particles or liquids.
Bags that have stored meats or seafood, in particular, should not be reused, as they may harbor residual pathogens. To maintain the seal’s effectiveness, inspect the bags for any signs of wear or damage before each use.
If you notice any punctures or compromised seals, it’s best to replace the bag to prevent air from entering and compromising the freshness of your stored food.
Is it OK to vacuum-seal cooked food?
You can absolutely vacuum seal cooked food without any issues, as long as you ensure it has cooled to room temperature before sealing it. Sealing hot food can create an environment where bacteria can thrive, potentially leading to spoilage and foodborne illness.
When you allow your cooked food to cool properly, you can safely store it in a vacuum sealer. This method is highly effective in preserving your meals’ flavor, texture, and quality, making it a convenient option for meal prep and storing leftovers.
Conclusion
Using a vacuum sealer is a smart and efficient way to store food. Vacuum sealing allows you to extend the shelf life of various foods, from meats and vegetables to herbs and spices, reducing food waste and saving you money in the process.
However, it’s essential to choose the right foods for vacuum sealing, as certain items may not fare well in this method.
Whether you’re meal prepping, preserving seasonal produce, or enhancing your pantry, a vacuum sealer can be your kitchen’s best ally in maintaining the quality and flavor of your favorite foods.
