Meal prep container storage ensures the longevity and freshness of your pre-cooked meals and contributes to efficient organization in your kitchen. So, it’s time to know how to store meal prep containers that ensure your kitchen is hygienic and efficient.
Make sure you choose the right containers that are freezer-safe and leak-proof. Allow your meals to cool completely before placing them in the fridge to prevent condensation and bacterial growth. Arrange your containers by type, such as putting all your protein and vegetable dishes together.
Here, you’ll discover how to organize your meal prep containers in your kitchen, ensuring freshness and saving space. Let’s get started.
Jump to Section
How to Store Meal Prep Containers: 9 Easy Steps
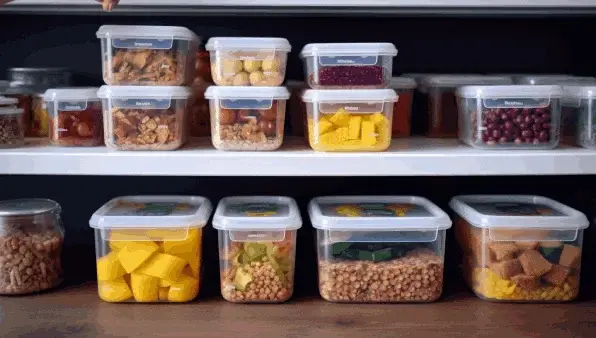
Storing your meal prep container storage is easier with the right steps. For this reason, we have outlined a few key steps for storing meal prep containers in your kitchen refrigerator.
Step 01. Choose the Right Containers
When storing your meal prep containers in the fridge, choosing the right ones is crucial. Here are some tips for choosing one:
a. Material Matters
Plastic containers are lightweight and cost-effective, but they may stain and retain flavors. Glass containers are sturdy and better at preserving flavor. Still, they can be heavier and more expensive. Stainless steel and silicone are also options.
We recommend considering the material that aligns with your preferences for storing your meal preps.
b. Size and Style
Your meal prep containers should be sized appropriately to ensure efficient storage in your kitchen refrigerator.
Smaller containers are ideal for portion control and single servings, while larger ones are suitable for bulk storage or family meals. Also, select container storage for your meals, such as bento-style or stackable container storage, that makes them easier to organize.
c. Microwave, Dishwasher, and Freezer Compatibility
Ensure your meal prep containers are microwave-safe, dishwasher-safe, and freezer-safe to easily store and reheat your meals. Check the labels or product descriptions to confirm these features.
d. Durability and Seal Quality
We recommend choosing durable containers with airtight seals for storing your meal prep in the fridge. This ensures that your food stays fresh and prevents any leaks or spills.
Look for containers that have good reviews and are known for their durability. Check the product specifications to make sure the seals are of high quality.
Step 02. Allow Meals to Cool
Before you place your meal prep containers in the kitchen fridge, let your freshly prepared meals cool slightly. This step will prevent condensation from forming inside the containers, which can lead to sogginess. Allowing the meals to cool also helps maintain their taste.
But, we recommend leaving them out for too long, as this does not compromise food safety. According to the United States Department of Agriculture (USDA), perishable food shouldn’t be left at room temperature for more than two hours.
Step 03. Arrange Containers by Type
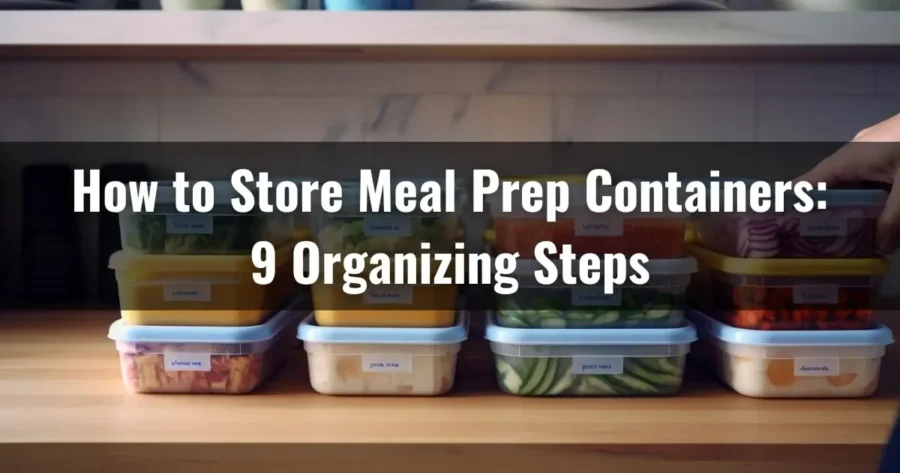
Group similar containers together based on their type, such as salads, proteins, or side dishes, to keep your kitchen fridge organized and make it easier to find what you need. By arranging your meal prep containers by type, you can create a visually appealing and functional system that saves you time and effort.
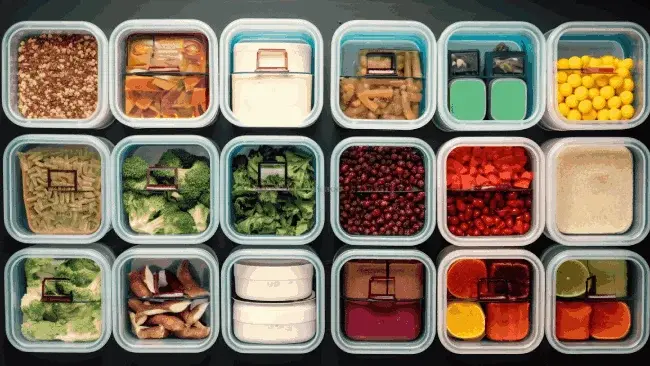
Start by designating specific areas or shelves in your fridge for each category. For example, you could have one shelf for salads, another for proteins, and another for side dishes.
Step 04. Label and Date Containers
Use a marker to ensure proper organization and freshness, and write the meal names and preparation dates on your meal prep containers.
Labeling your containers is essential for tracking what you have stored and when it was prepared. By clearly marking the meal names, you can easily identify which dish you want to consume without opening each container.
Also, writing the preparation dates allows you to track how long each meal has been stored. For food safety, this helps you identify older meals that should be eaten first and prevent food from spoiling or becoming contaminated by keeping it for too long.
Step 05. Stack Strategically
Now, stack your containers strategically by placing the tallest containers in the back and the shorter ones in the front so you can easily access each meal. This method ensures you won’t have to rummage through your fridge to find the desired meal.
Also, use this feature to save space if your containers are stackable or nestable. Stack containers of the same size neatly to maximize the available fridge space. This way, you can fit more containers in your fridge without overcrowding it.
Step 06. Use Shelves or Drawer, Not the Door
You should prioritize using the shelves or drawer in your kitchen fridge instead of the door when storing your meal prep containers.
While the door may seem convenient to store your containers, it’s not the best option. The fridge door is subject to temperature fluctuations, as it’s constantly being opened and closed. This can lead to inconsistent cooling and may compromise the freshness and safety of your food.
In contrast, the shelves in your fridge provide a more stable and consistent temperature, ensuring that your meal prep containers stay fresh for longer. Also, placing your containers on the shelves allows for better organization and easier meal access.
You may also consider designing a dedicated drawer in your kitchen fridge for meal prep containers. This dedicated fridge drawer will help keep your containers organized and easily accessible.
Step 07. Keep Raw and Cooked Foods Separate
Place raw meats and cooked foods in separate containers to prevent cross-contamination in your kitchen fridge. This allows food safety and avoids any potential risks of foodborne illnesses.
Raw meats, such as chicken, beef, or fish, should be stored on the lower shelves to prevent any drips or leaks onto other foods. Using different containers for raw and cooked foods is recommended to ensure there’s no contact between them. This will help to maintain the freshness and quality of your meal preps.
Step 08. Store Fruits and Vegetables Wisely
Store your fruits and vegetables separately in your kitchen fridge to maximize freshness. This is because fruits and vegetables have different storage requirements, and keeping them together can lead to premature spoilage.
Fruits release a natural gas called ethylene, which can cause vegetables to ripen and spoil faster. Therefore, we recommend storing them in separate containers.
Use airtight containers or resealable bags to keep them fresh for longer. Also, placing a paper towel in the containers can help absorb excess moisture, preventing spoilage.
Step 09. Maintain Proper Fridge Temperature
We strongly suggest ensuring your kitchen fridge is consistently set at the proper temperature below 40°F (4°C) to ensure the safe storage of your meal prep containers.
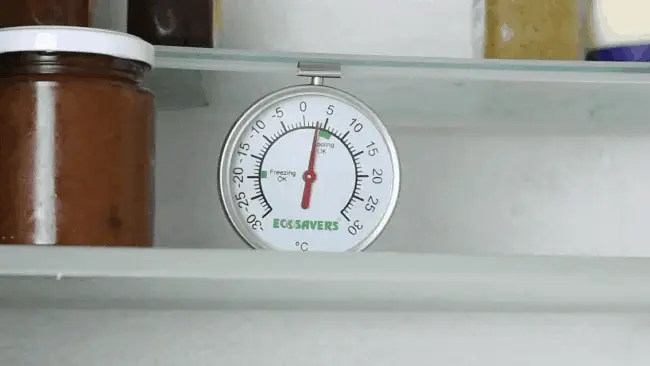
Maintaining the right temperature is essential for food safety and preventing bacterial growth. When the fridge temperature is set too high, harmful bacteria can multiply rapidly, increasing the risk of foodborne illnesses.
Meanwhile, setting the temperature too low can lead to freezing and spoilage of some foods. To maintain the proper fridge temperature, use a refrigerator thermometer to regularly check and adjust the settings.
Frequently Asked Questions
1. Do I put my meal prep containers in the fridge or freezer?
If you want to keep your meal prep containers fresh, store them in the fridge or freezer. The USDA recommends storing leftover foods in the fridge for 3 to 4 days or in the freezer for 3 to 4 months.
The fridge is a great option for short-term storage, as it keeps food safe and maintains its quality and flavor. In contrast, the freezer is your best bet if you want to store your meals for a longer period.
2. Should I put meal prep straight in the fridge?
You should let your food cool before putting it in the fridge so condensation does not form and make your meals soggy.
Hot food placed directly in the refrigerator creates a humid environment that promotes the growth of bacteria, potentially causing foodborne illnesses. To avoid this, let your meal prep containers sit at room temperature for about 30 minutes to an hour before placing them in the fridge.
Conclusion
Hopefully, you now know how to store meal prep containers properly and how many you may need. Organize your containers, seal them tightly, and place them in the right temperature zones.
You can also make sure your meal prep efforts are convenient and cost-effective by considering material, size, durability, and eco-friendliness.
Keep in mind the key to successful meal prepping lies in efficient storage. So take the time to implement these tips and enjoy hassle-free, delicious meals throughout the week.


