
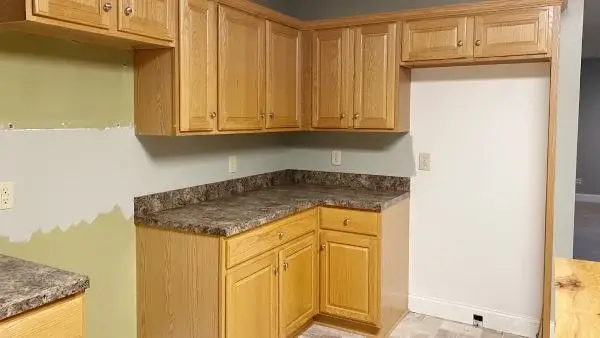
A transformation of your once beautiful oak kitchen cabinets is necessary if they have become dull, faded, or out of date. Even when you clean them often, some stains simply won’t come out, leaving them looking old and tired. But, before you consider replacing them, consider whether you should paint them.
Painting your oak cabinets can be an affordable and effective way to revamp your entire kitchen. Your revamped kitchen will leave you awestruck if you utilize resourcefulness and focus. The procedure promises to transform your space into a visually appealing and highly functional area.
Throughout this article, we’ll discuss how you can paint your oak kitchen cabinets and the pros and cons of painting oak cabinets. We’ll also share expert tips on properly caring for painted oak cabinets so they stay beautiful for years.
How Should You Paint Your Oak Kitchen Cabinets?
Painting oak kitchen cabinets is simple if you follow a few key steps. Based on our extensive research, we came up with the following steps.
- Step 01: Cleaning and deglossing
- Step 02: Sanding and surface preparation
- Step 03: Filling imperfections, if desired
- Step 04: Applying high-quality primer
- Step 05: Sanding between primer coats
- Step 06: Choosing the right paint
- Step 07: Using a spray painter
- Step 08: Applying multiple paint coats
- Step 09: Allowing proper drying time
- Step 10: Achieving a professional finish
Let’s take a closer look at each step so you can properly paint your oak kitchen cabinets.
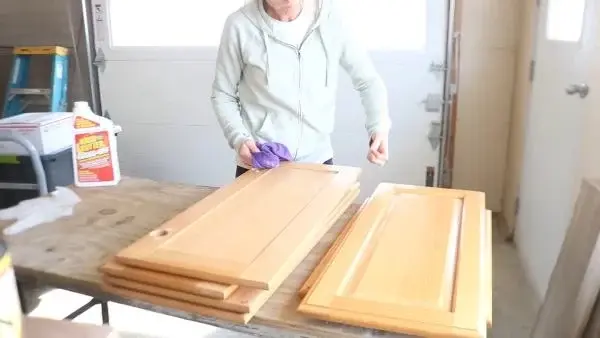
Step 01: Cleaning and Deglossing
Before you start, clean and degloss your oak kitchen cabinets to ensure a smooth and polished surface for painting. Begin by removing all the hardware from the cabinets, including handles and hinges.
We suggest using a mild detergent mixed with warm water to wipe down the cabinets, removing any grease or grime. Once clean, use a deglossing agent to remove any glossy finish on the wood.
Step 02: Sanding and Surface Preparation
A smooth and even finish is possible by sanding and preparing the oak cabinets’ surface. Grab some fine-grit sandpaper and gently sand all surfaces, removing any existing varnish or rough patches. Be thorough but gentle to avoid damaging the wood.
Once sanded, wipe away any dust with a damp cloth before moving forward with the painting process.
Step 03: Filling Imperfections, if Desired
Achieving a smooth, even finish is crucial when refinishing wood cabinets. To ensure perfection, it’s essential to fill any cracks, holes, or dents in the wood using putty or wood filler.
Apply it with a putty knife, ensuring even distribution, and allow it to dry completely before sanding. Once dry, lightly sand the surface to create a flawless finish. This step is critical to achieving professional-grade results in finalizing your renovation project.
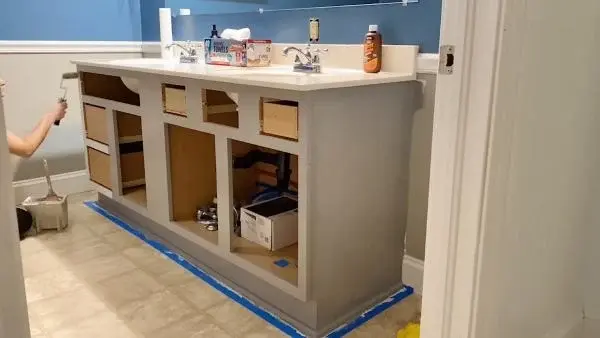
Step 04: Applying High-Quality Primer
Revamp your oak cabinets with a powerful primer made just for them. This top-notch primer ensures perfect paint adhesion and long-lasting results.
To apply, grab a brush or roller and coat your cabinets evenly, leaving no crevice or corner untouched.
Once the first coat is dry, lightly sand the cabinets with 120 grit sandpaper and use a tack cloth to eliminate any debris. Apply a second coat of primer and repeat the sanding and cleaning steps before diving into your paint project.
Step 05: Sanding Between Primer Coats
Preparing a smooth surface for final painting requires sanding between primer coats. By gently sanding the cabinets with fine-grit sandpaper, you’ll remove any imperfections or roughness left behind by the primer.
Step 06: Choosing the Right Paint
We recommend water-based latex paint specifically designed for cabinetry for the ultimate results. This incredible paint does not only chip, peel, and fade resistant, but it also dries hard for a lasting finish.
Not only is latex paint transformative, but it’s also environmentally friendly. With low levels of VOCs, you’ll have peace of mind knowing you’ve made a safe choice. Plus, cleanup is a breeze with just soap and water, leaving you with less hassle and mess.
While oil-based paints are an alternative, they come with longer drying times and stronger fumes. Proper ventilation and protective gear are a must. Even so, they do provide an extra durable finish compared to latex paints.
Step 07: Using a Spray Painter
We encourage using a spray painter for a smooth, professional oak cabinet finish. With its fine mist of paint, a spray painter ensures even coverage and eliminates brush strokes or roller marks. Plus, it allows for quicker application, saving you time and effort.
Step 08: Applying Multiple Paint Coats
Achieving the perfect finish for your oak kitchen cabinets is crucial. Applying multiple coats of paint is key. Whether using a spray gun, brush, or roller, attention to detail is vital.
Adjusting the nozzle for an even spray is a must. Holding the gun at the right distance (6 to 8 inches) prevents drips and uneven coverage. The same goes for a brush or roller application. Smoothness and evenness are the goals.
Take your time and wait for each coat to dry before applying the next. Avoid the risk of ruining the finish by rushing this step.
Step 09: Allowing Proper Drying Time
Make sure you give your freshly multiple-coat painted cabinets enough time to dry completely so that you can unveil their stunning transformation. Rushing the drying process may result in smudges or damage to the paint job.
Allow at least 24 hours for each coat of paint to dry before applying another one. Be patient and resist the temptation to touch or use your newly painted cabinets until they are fully dried.
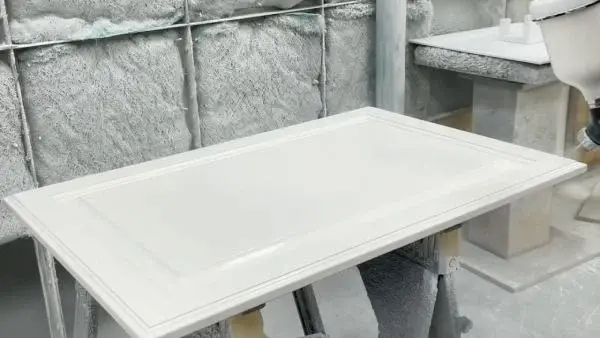
Step 10: Applying a Polyurethane Top Coat
We recommend applying a polyurethane top coat to achieve a professional finish to protect the kitchen cabinets’ paint and add durability.
Use a high-quality brush or sprayer for smooth, even coverage. Take your time and apply thin coats, allowing each one to dry completely before adding the next. Sand lightly between coats to prevent sticky buildup and a flawless finish.
Painting Oak Cabinets: Pros and Cons
Consider the charm and character that painting your oak kitchen cabinets can bring to your home. By painting them, you can give your kitchen a fresh and updated look. Still, it’s important to weigh the pros and cons before deciding.
- Painting oak cabinets can give a kitchen a fresh, modern look.
- It’s a cost-effective way to update the kitchen without replacing cabinets.
- Painting cabinets offer a wide range of color options to meet any decor need.
- It can brighten up a dark kitchen and create a more inviting space.
- The process is relatively quick compared to other kitchen renovations.
- Proper preparation, including cleaning, sanding, and priming, can be time-consuming and laborious.
- Painted cabinets may not be as durable as stained wood cabinets, causing potential longevity concerns.
- The natural wood grain of oak cabinets may still be visible after painting, which could be a turn-off for some.
- Painting oak cabinets is a permanent change that may appeal to something other than future homebuyers, potentially affecting resale value.
- Acquiring the skill to achieve a professional-looking finish on cabinets may necessitate professional painters assisting and doing the job.
How Do You Take Care of Painted Oak Kitchen Cabinets?
You must consider several key points when caring for your painted oak kitchen cabinets. From our perspective, here are some caring tips:
No 01: Regular Cleaning
To effectively clean painted oak kitchen cabinets, dilute a mild soap with warm water. Dip a soft sponge or cloth into the solution and gently wipe down the cabinets, especially in areas with noticeable dirt or spills. Rinse the soap residue with clean water, and dry the cabinets with a clean towel.
No 02: Avoid Harsh Chemicals
We must say that when cleaning painted oak cabinets, avoid harsh chemicals and abrasive cleaning products. These cleaning agents can harm the paint finish, leaving your cabinets looking dull or discolored over time.
Instead, use gentle, non-abrasive cleaning agents, like baking soda paste or vinegar solution, for tough stains or grime.
No 03: Protect from Moisture
Moisture is one of the biggest enemies of painted oak cabinets. It can cause the paint to peel, expose the wood, or warp the surface. Protect your cabinets by wiping up spills immediately, ensuring that your sink and dishwasher are properly sealed, and keeping your kitchen well-ventilated.
# Avoid placing wet or damp items directly on the cabinet surfaces.
No 04: Use Soft-Close Hardware
Investing in soft-close hardware can prevent damage caused by slamming drawers or cabinets. Soft-close hardware allows the drawers and doors to close smoothly and quietly, reducing wear and tear on the painted surfaces. It also helps to extend the life of your cabinets and keep them looking fresh.
No 05: Regular Inspections and Touch-ups
We assure you that regularly inspecting your painted oak cabinets will prevent further damage and ensure their longevity. Look for any chips, scratches, or places where the paint has worn off, and touch them up with matching paint as soon as possible.
Buffing small scratches with a furniture pen or wax can also help to disguise them. The sooner you fix any damage, the easier it will be to maintain the quality of the cabinet’s finish.
FAQ’s: Should I Paint My Oak Kitchen Cabinets
We found the following common questions, and here are the most accurate answers based on our web search:
What paint color looks good on oak kitchen cabinets?
For painting oak kitchen cabinets, we recommend using yellowish beige, orangish beige, and warm gray with a soft beige shade for the best color choices. These colors create a warm, inviting atmosphere in your kitchen. Avoid using beige colors with green tones since they can contrast too sharply with the oak’s warmth.
Aside from that, consider painting your walls in contemporary neutrals, such as soft blue grays, greens, or neutral beiges, to refresh your kitchen.
Do oak cabinets look good painted white?
While painting oak kitchen cabinets white has an appealing, traditional look, we think it may detract from the striking appearance of an extensive countertop surface area. In contrast, if you have a more modest counter space, painting your cabinets white can give your kitchen a timeless and welcoming feel.
Remember that maintaining the pristine look of white cabinets requires additional care and cleaning.
Should cabinets be lighter or darker paint than wall color?
When deciding on the color of painted oak cabinets for your kitchen, the choice between lighter or darker shades largely depends on the desired aesthetic. Lighter colors can create an illusion of more space by opening up smaller kitchens, while darker shades add warmth and a cozy ambiance to the room.
Consider these factors carefully before making a decision, as the color of your cabinets can greatly impact the overall feel of your kitchen.
Does painting kitchen cabinets add value?
A fresh coat of paint and new hardware on your kitchen cabinets can add substantial value to your home. In our experience, painting your kitchen cabinets and pairing them with new hardware can increase your home’s value by as much as $2,000.
This increase in value is due to buyers’ preferences for updated and modern-looking kitchens, along with the enhanced visual appeal of a freshly painted and spruced-up kitchen.
Conclusion
Painting your oak kitchen cabinets can be a fantastic way to update the look of your kitchen. It allows you to add a pop of color or create a more modern and sleek design. But you must consider the pros and cons before making this decision.
Ensure you choose the right paint and follow proper preparation techniques for a long-lasting finish. With proper care, your painted oak cabinets can continue bringing beauty and style to your kitchen for years.
So go ahead, grab that paintbrush, and transform your kitchen into the space of your dreams.