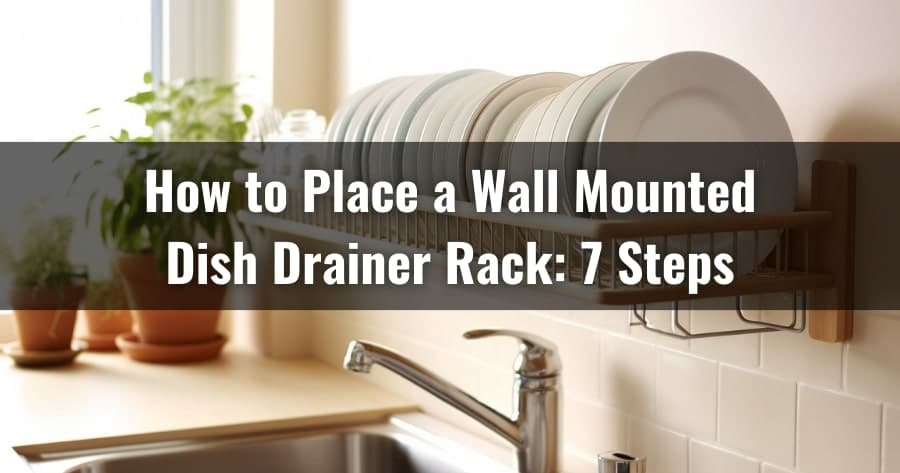
The wall-mounted dish drainer rack above the kitchen sink maximizes space utilization and adds organization and efficiency. Installing these racks correctly will allow you to air-dry dishes, reducing messy countertops and dishwashing time.
Assess your wall and sink area to determine the best location for the rack. Get the rack and the tools and materials you need, such as a drill and screws. Mark the mounting points, drill pilot holes, and mount the rack securely.
In this discussion, we will go over the steps of installing a wall-mounted kitchen dish drainer rack over your kitchen sink. It will allow you to dry your dishes efficiently while maintaining a neat and functional space.
Jump to Section
How Do You Install a Wall Mounted Dish Drainer Rack: Steps to Follow
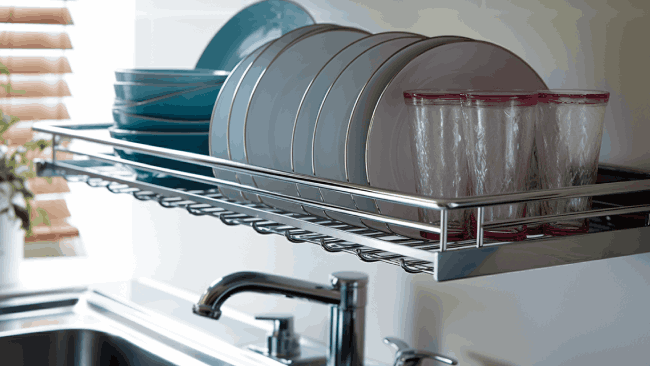
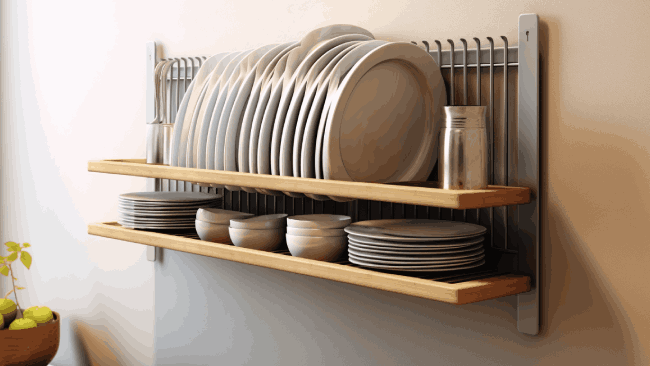
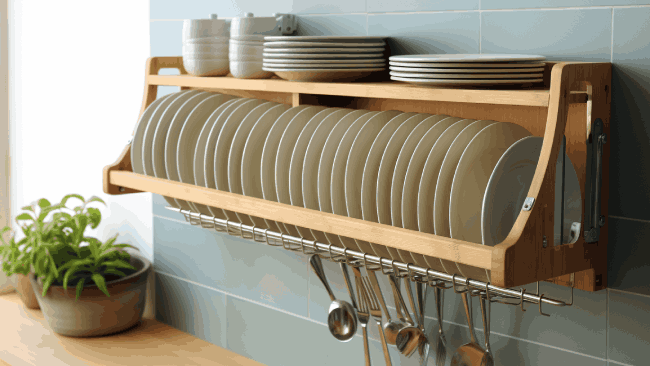
Dish drainer racks often come in different sizes and designs, so choosing one that fits your specific needs is essential. Some racks are designed to hold plates, cups, and utensils, while others also have compartments for drying pots and pans.
Once you have chosen the perfect dish drainer rack for your kitchen sink, you can follow these steps to install it correctly:
- Assess your wall and sink area
- Gather tools and materials
- Mark the mounting points
- Drill pilot holes
- Mount the rack
- Test stability and capacity
- Adjust if necessary
Step 01. Assess Your Wall and Sink Area
You should assess your kitchen wall and sink area to determine the most suitable location for setting up a wall-mounted kitchen dish drainer rack over the kitchen sink. Ensure the wall can support the weight of the rack and dishes. Choose a location above the sink that won’t obstruct faucets or other kitchen fixtures.
Consider the dimensions of your sink and the available space on the wall. Measure the distance between the sink and any cabinets or shelves to ensure the dish drainer rack fits properly.
Step 02. Gather Tools and Materials
After carefully assessing your wall and sink area, you can gather the necessary tools and materials to set up your rack over the kitchen sink.
To begin, make sure you have a power drill, screws, a level, a pencil for marking, and a measuring tape. These tools will help ensure a secure and level installation. It’s also good to check the rack’s assembly instructions for any specific tools or hardware the manufacturer recommends.
Step 03. Mark the Mounting Points
Position the rack assembly over the sink and carefully mark the mounting points on the wall using a pencil. This step will ensure that the rack is installed in the correct position. These marks will serve as a guide for drilling later on.
Use a level to ensure the rack is straight before marking the mounting points. Once you have marked the points, you can proceed to the next step.
Step 04. Drill Pilot Holes
Using a power drill, carefully drill the pilot holes, making sure to use the appropriate drill bit size based on the screws provided with the rack. These pilot holes will serve as guides and make securing the rack to the wall easier without causing any damage.
Ensure you are precise and accurate when drilling the pilot holes to ensure the rack is securely mounted. To reduce any potential damage, we recommended using a stud finder to identify the location of wall studs before drilling.
Step 05. Mount the Rack
Make sure that the rack is securely attached to the wall by inserting the screws through the mounting holes on the rack and tightening them into the pilot holes. This will ensure that the rack stays in place and can hold the weight of your dishes without any issues.
It’s also important to check the rack is level to ensure it hangs straight. This won’t only enhance the appearance of your kitchen but also prevent any potential accidents or damages.
Step 06. Test Stability and Capacity
Now that the wall-mounted dish drainer rack is securely mounted testing its stability and capacity is time.
Begin gently placing some lightweight dishes on the rack to check their stability. If it stays in place without wobbling or shaking, gradually increase the weight by adding more dishes. This will help determine if the rack can handle the load without issues.
However, you should avoid overloading the rack beyond its specified capacity. Doing so can lead to damage or accidents. Refer to the manufacturer’s guidelines to ensure you don’t exceed the recommended weight limit.
Step 07. Adjust if Necessary
If adjustments are necessary, you can easily reposition and secure the wall-mounted dish drying rack over your kitchen sink by following these steps.
- Start by loosening the screws that hold the rack in place. This will allow you to move the rack to the desired position.
- Once you have repositioned the rack, ensure it’s level and stable.
- Take the time to fine-tune the placement until you achieve a perfectly balanced and secure wall-mounted dish drainer.
- When you’re satisfied with the position, tighten the screws to secure the rack in place. This will ensure that it stays positioned while you use it to dry your dishes.
How Do You Maintain a Wall-Mounted Dish-Drainer Rack?
- Regularly wipe down the wall-attached dish drainer rack with a damp cloth to remove any accumulated water spots, soap residue, or food particles. This will help maintain the cleanliness and hygiene of the rack.
- Pay special attention to the drainage areas to prevent mold or mildew growth.
- If you want to give the rack a deeper clean, follow the manufacturer’s instructions and dismantle the rack. Wash each component in warm, soapy water and ensure they’re fully dry before reassembling.
- It’s also important to periodically inspect the screws and mounting points to ensure they’re secure.
- Avoid overloading the rack beyond its capacity, as this can compromise its structural integrity.
- Also, be mindful of the type of dishes you place on the rack to prevent scratches or damage.
FAQ’s: How to Place a Wall Mounted Dish Drainer Rack
What is the healthiest way to dry dishes?
The healthiest way to dry dishes is typically through air-drying on a dish rack, deemed more sanitary than using a dishtowel. Allowing dishes to air-dry naturally minimizes the risk of bacterial growth associated with moisture retention.
We recommend utilizing a wall-mounted two-tier dish drainer rack or a model designed to fit over the kitchen sink for optimal air circulation and efficient drying.
Do you really need a dish rack?
Having a wall mounted dish drying rack over the sink can still be a valuable addition to your kitchen, even if you have a dishwasher. While dishwashers are convenient for cleaning larger loads of dishes, a dish rack offers several benefits.
It lets you quickly clean and rinse dishes, cups, and cutlery between meals, saving you time and water. Also, a dish rack allows your dishes to air dry naturally, which is safer and hygienic than using a towel that may contain harmful bacteria. It helps prevent water spots and streaks when dishes dry on a countertop.
Is a dish drying mat or rack better?
A drying mat is suitable if you frequently hand-wash large items like pots and pans. These mats lay flat and provide ample open space for larger items to air dry.
Conversely, a wall-mounted dish-drying rack may be more organized and convenient if you primarily clean plates and utensils. These racks have compartments and slots specifically designed to hold plates, glasses, and cutlery, making it easier to dry multiple items simultaneously.
Conclusion
A wall-mounted dish drainer rack is a simple and convenient way to dry dishes over the sink. With the steps mentioned above, you can easily install the rack, keeping your kitchen organized and efficient. Each step contributes to an attractive and functional addition to your kitchen space.
Once installed, regular maintenance is paramount to preserve its cleanliness and structural integrity. Your wall-mounted dish rack will remain a reliable and stylish kitchen asset if you follow the recommended cleaning routines and usage tips.
With this practical addition to your kitchen, you can say goodbye to cluttered countertops and enjoy a tidy and functional space.